Indent in Excel with shortcuts is a valuable feature that significantly improves the organization and visual appeal of your spreadsheets. This efficient technique enables you to create hierarchies, format data as bulleted lists, and outline your content effortlessly. Whether you’re managing data, creating presentations, or working with code, mastering ‘Indent in Excel with shortcuts’ enhances your productivity and readability. Make the most of this time-saving tool to streamline your Excel projects and communicate your data effectively. With ‘Indent in Excel with shortcuts,’ you’re not just formatting; you’re optimizing your workflow and enhancing the impact of your Excel documents.
But occasionally, you might wish to alter this. When utilizing a certain style or adding a paragraph, for instance, you might need to indent text in an Excel cell. We’ll show you how to indent in Excel in this quick tutorial.
This Tutorial Covers:
- Indent using a Keyboard Shortcut
- Indent using Ribbon Options
- Indenting Individual Lines in the Same Cell
1. Indent using a Keyboard Shortcut
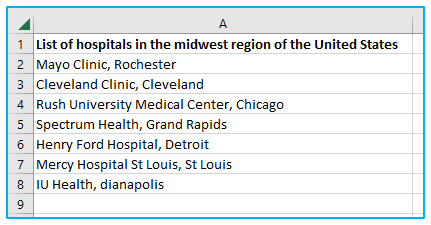
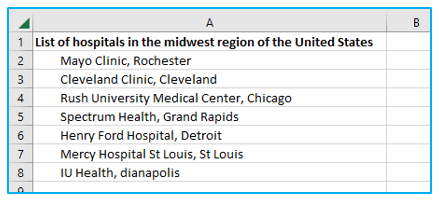
Let’s say you wish to aim the numbers a little bit to the right and you have the data set depicted below.
The keyboard shortcut for that is as follows:
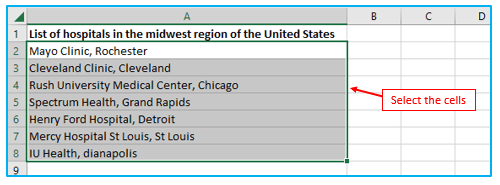
Step 1: Choose the cells where you wish to apply the indent.
Step 2: To increase indent in Excel use the following keyboard shortcut and then repeatedly hit these keys (one after the other).
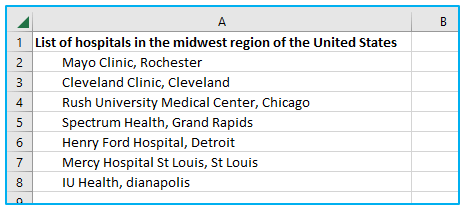
ALT + H + 6 (to indent to the right)
The result looks like below:
To eliminate the indentation space, Use the following keyboard shortcut and then repeatedly hit these keys (one after the other).
ALT + H + 5 (to indent to the left)
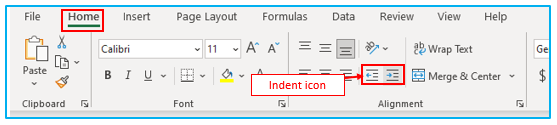
2. Indent using Ribbon Options
If you would rather use a mouse, Excel provides settings in the ribbon that allow you to indent text with the click of a button.
The procedures for indenting using ribbon options are as follows:
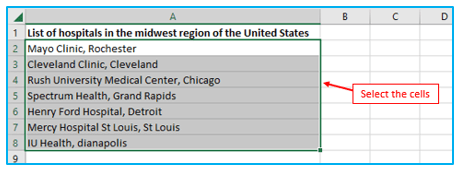
Step 1: Choose the cells you want to have an indentation in.
Step 2: Activate the “Home” tab. Select the “Indent” icons from the “Alignment” group (based on whether you want to indent left or right). In this example, I clicked three times.
The result looks like below:
Keep in mind that the indentation affects the entire cell’s content. Therefore, if a cell contains many lines, all the lines would be indented.
You may also add the indent icons to the Quick Access Toolbar if you frequently need to modify the indentation. Just select “Add to Quick Access Toolbar” from the context menu when you right-click on the indentation icon.
Fun fact: Excel indent by the same amount as three space characters when you use these options.
3. Indenting Individual Lines in the Same Cell
If a cell contains many lines, you might wish to indent excel some of the cells but not the others.
Unfortunately, employing the indenting choices described above will prevent you from doing that. The indent options are disabled once you enter edit mode in a cell.
However, there is a less-than-elegant workaround that can be used to do this. This can be accomplished by manually inserting spaces before the lines in which you want to add indents.
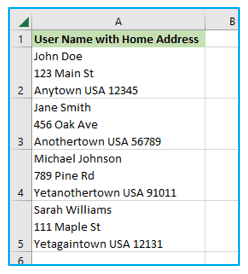
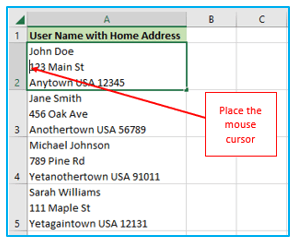
Assume you wish to indent every line following the first one in the dataset as it is displayed below.
The steps to indent numerous lines in a single cell are as follows:
Step 1: Choose the cell.
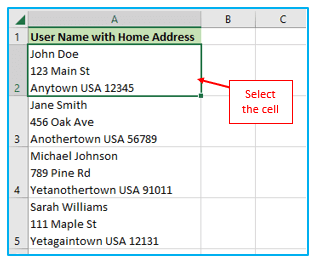
Step 2: Double-click the cell to enter edit mode or press F2 to do so. Set the cursor to the desired insert point within the indentation.
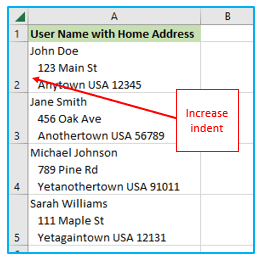
Step 3: To create the desired indentation, type the space character. If you want the indentation to span many lines, you must position the cursor at each line and add the necessary characters for a space.
Carry out these manually in rest cells.
These are a few techniques for indenting text in Excel.
Application of Indent in Excel with shortcut
- Data Hierarchy (Ctrl + Alt + Tab):
- Create a hierarchical structure in your data by indenting subcategories or sub-items, making it easier to understand and navigate.
- Bulleted Lists (Ctrl + Shift + L):
- Apply indentation to format data as bulleted lists for clear and organized content.
- Outlining (Alt + Shift + -):
- Use indentation to create collapsible outlines, allowing you to expand or collapse sections of your worksheet for improved readability.
- Enhanced Labels (Ctrl + Alt + 5):
- Indent labels and headers to distinguish them from data entries and improve the visual layout of your tables.
- Nested Formulas (Ctrl + ]):
- Indent nested formulas to visually represent the hierarchy of calculations, aiding in formula debugging and readability.
- Code Formatting (Ctrl + K, Ctrl + D):
- When working with VBA macros or code snippets, use indentation to format code blocks for better code organization and comprehension.
Indenting in Excel with shortcuts is a versatile tool that enhances the structure and readability of your worksheets, making it easier to work with complex data, presentations, and code.
For ready-to-use Dashboard Templates:
