Create Data Entry Form in Excel to transform the way you collect and manage information. This powerful tool simplifies data entry, enhances accuracy, and improves the efficiency of your workflows. By customizing forms to fit your specific data collection needs, you can ensure consistency, reduce errors, and make your spreadsheets more accessible to users of all skill levels. Embrace the full potential of Excel’s data entry forms to streamline your data processes, making your projects more organized and your analysis more precise. Unlock the benefits of structured data collection today and see the impact on your data management strategies.
This Content Covers:
- What is a Data Entry Form? What are the necessities of Data Entry Form?
- How to Activate Form tool from Excel Options Dialogue Box?
- How to Create New Data Entry Form in Excel?
- How to Navigate Through Existing Records and Edit Entry?
- How to Delete Records from Data Entry Form?
- How to Restrict Data Entry Form Using Data Validation?
1. What is a Data Entry Form? What are the necessities of Data Entry Form?
Definition: A data entry form is a tool in Excel for entering data that allows for adding new information, searching existing information, and deleting earlier information.
Necessity: Data entering is quicker and more effective when using a data entry form since you don’t have to enter data row by row in several separate cells. Additionally, it is less likely that you would input data incorrectly. Utilizing data entry forms is especially advantageous when your data range or table has a large number of columns.
2. How to Activate Form tool from Excel Options Dialogue Box?
Microsoft Excel provides an in-built form tool in the application for its users. To activate the form tool and bring it to the quick access toolbar for faster use, follow the necessary steps shown in below pictures.
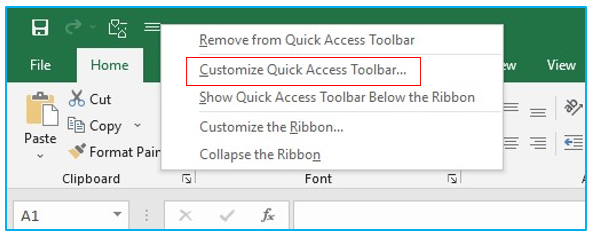
Step 1: Right click anywhere on quick access toolbar and select Customize Quick Access Toolbar.
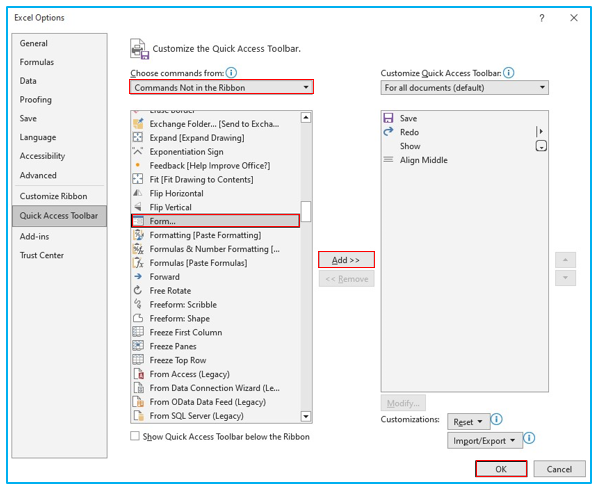
Step 2: From Excel Options dialogue box select Commands Not in the Ribbon in the box named as Choose commands from. Scroll down and select Form then click Add>>OK.
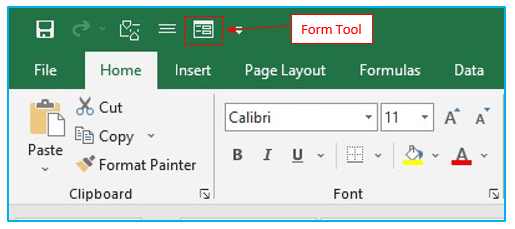
Step 3: The form tool has been added to your Excel workbook.
3. How to Create New Data Entry Form in Excel?
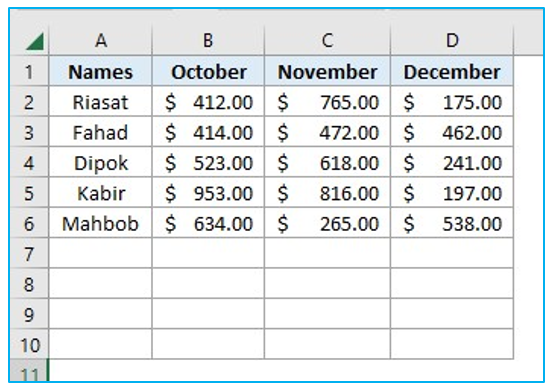
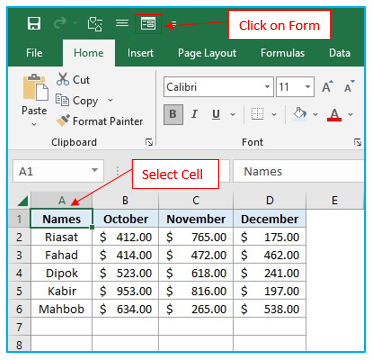
Suppose we have this empty table which represents the names of some salesman and their sells of three months October, November and December. Now to create a data entry from or a new entry in this data table, follow the step below.
Step 1: Select any of these cells that contains a data and then click on the Form tool icon.
Step 2: From the dialogue box click on New, which will clear all the previous data from these boxes. Now fill up all the boxes with new data which u want to add in the data entry from as shown below in the picture.
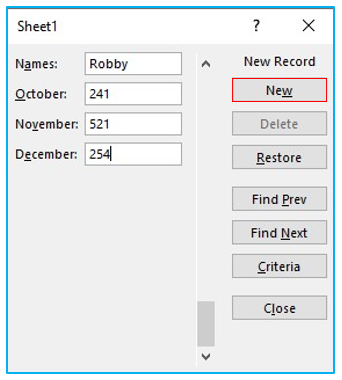
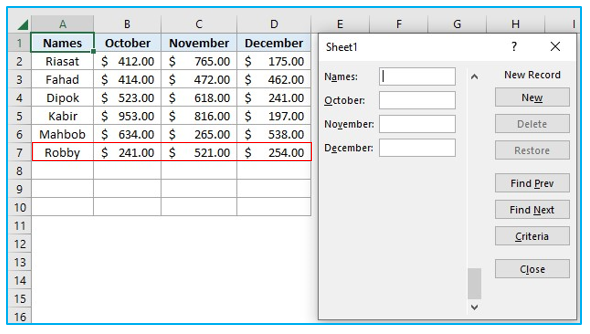
Step 3: Hit ENTER or click on New again, this will insert the data that you typed inside the dialogue box into the data table. Keep inserting data in the dialogue box to complete your data entry form.
 4. How to Navigate Through Existing Records and Edit Entry?
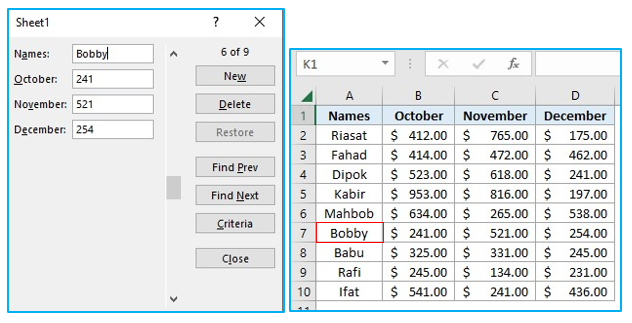
Navigation: To navigate through existing records, click any cell>>select data entry tool and then from the dialogue box use Find Prev and Find Next to navigate through the exiting data. You can also use the scroll bar to navigate too.
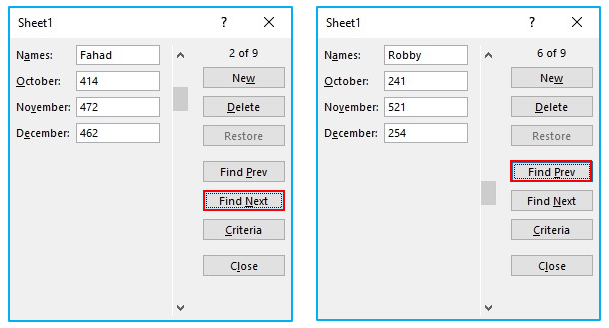
Edit Entry: To edit an entry just find it by navigating and edit it from the dialogue box and hit ENTER. In this picture below, the name of the 6th seller is edited from Robby to Bobby using the same method.
 5. How to Delete Records from Data Entry Form?
Step 1: Navigate through the data from the dialogue box and click on Delete when u find the data you want to erase from the datasheet.

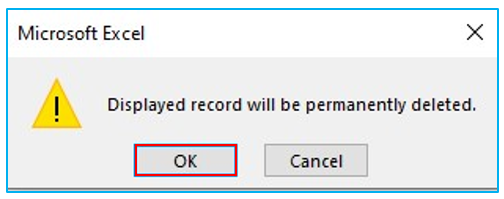
Step 2: A warning dialogue box will pop up. Click OK.
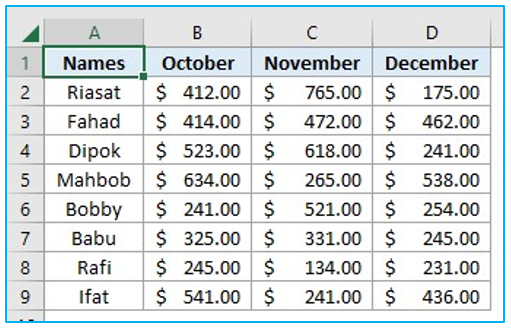
Step 3: The whole data of the seller named Kabir has been deleted from the data entry sheet.
6. How to Restrict Data Entry Form Using Data Validation?
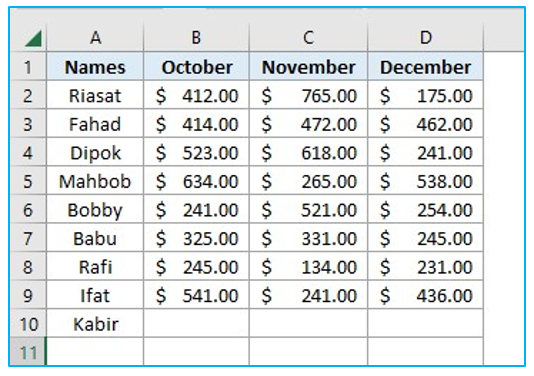
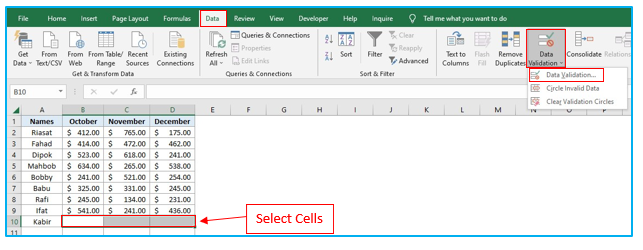
Suppose we want to add Kabir again in the data entry table again and we don’t want that any month’s sell amount which is under $200 and over $800 to be added in the data sheet. By using the data validation option, we can set a condition that any amount under $200 and over $800 won’t be added in the data entry sheet.
Step 1: Select the cells you want to apply this condition to and go to Data>>Data Validation. Select Data Validation from the drop-down menu.
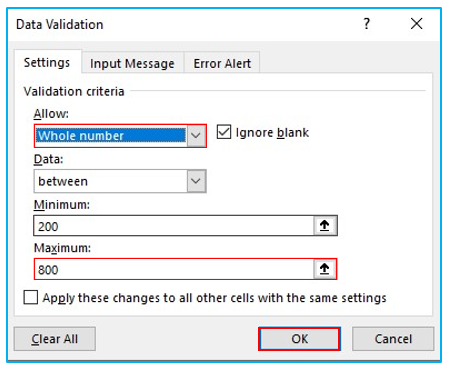
Step 2: From Data Validation dialogue box, select Whole number from Allow box and set the minimum and maximum range, click OK.
Step 3: From the data entry dialogue box, scroll down to Kabir. Now whenever you try to insert a value that is under 200 or over 800 and hit ENTER, this error message will pop up and the value will not be inserted in the data entry sheet for those selected cells. You can apply conditioning from Data Validation to the entire columns also using the same method after selecting them.

Application of Create Data Entry Form in Excel
- Streamline Data Collection: Utilize data entry forms to streamline the process of collecting information from various sources, ensuring consistency and accuracy in the data collected.
- Improve User-Friendliness: Create forms to make data entry easier and more intuitive for users who may not be familiar with navigating Excel spreadsheets, thereby reducing errors.
- Enhance Data Integrity: Implement data entry forms with validation rules to ensure that the data collected meets specific standards and formats, enhancing the overall integrity of your dataset.
- Facilitate Bulk Data Entry: Use forms to simplify the process of entering large volumes of data into Excel, making the task less tedious and time-consuming compared to manual entry into cells.
- Organize Information Collection: Design structured forms to collect data in a uniform manner, making it easier to analyze and sort through information once it’s been entered.
- Enable Quick Data Revisions: Employ data entry forms to allow for quick updates and revisions of existing records in your dataset, improving the efficiency of data management and maintenance.
You may be interested:
