Create Scroll Bar in Excel is a valuable tool that elevates your data navigation and interaction capabilities. By implementing scroll bars, you can effortlessly browse through extensive datasets, improve user experience, and enhance the visual appeal of your Excel spreadsheets. Whether you’re managing large tables, creating interactive dashboards, or simplifying data exploration, mastering the art of ‘Create and Use Scroll Bar in Excel’ empowers you to customize your Excel projects for optimal usability. Embrace this feature to make your worksheets more user-friendly and efficient, offering a seamless and engaging experience for both yourself and your audience.
This Content Covers:
- What Is the Scroll bar feature in Excel? Why is it Necessary?
- How to Create a Scroll Bar in Excel?
- How to Set up a Scroll Bar for a Particular Data Set?
- How to Use a Scroll Bar in a Data Set?
1. What is Scroll bar feature in Excel? Why is it Necessary?
Definition: A vertical or horizontal bar that allows you to adjust the viewing area up, down, left, or right is called a scroll bar. In Excel, the scroll bar is identical to the one you are used to seeing while using a computer system. This thin bar is typically seen in computer programs to change the viewing area of computer applications to the left or right.
Necessity:
- Excel’s scroll bars make it simple to choose values from a given list, saving you time in the process.
- We can display several datasets in a single window with the help of the scrollbar feature.
2. How to Add a Scroll Bar by Using Form Control?
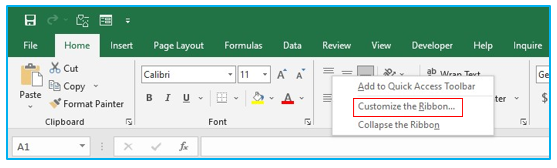
Step 1: Right click on Excel ribbon tab and select Customize the Ribbon.
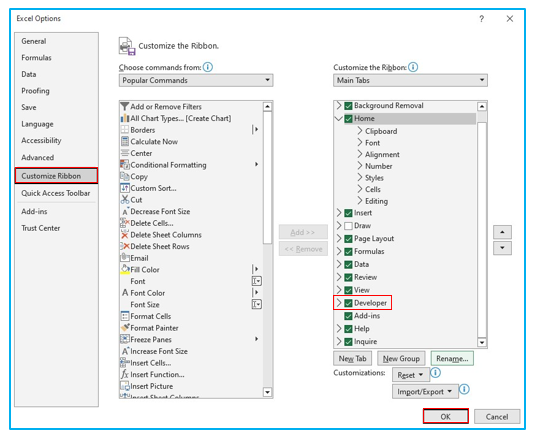
Step 2: Check Developer under Customize Ribbon tab and click OK.
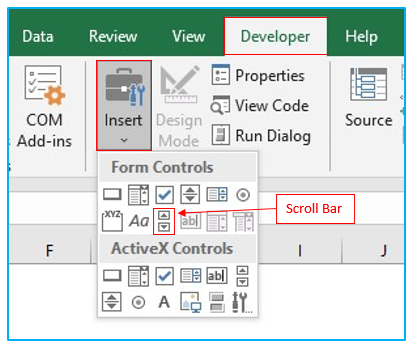
Step 3: Go to Developer Tab >> Insert and select Scroll Bar from the drop-down menu.
Step 4: Click anywhere on your worksheet to insert a scroll bar. You may resize the scroll bar.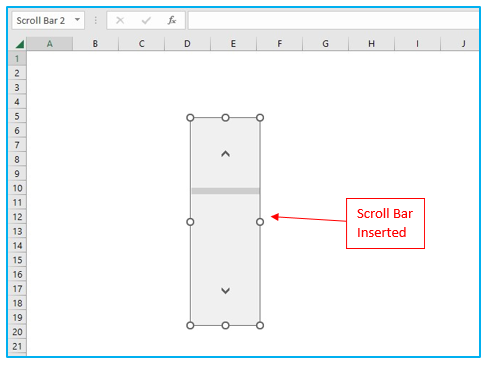
How to Set up a Scrollbar for a Particular Data Set?
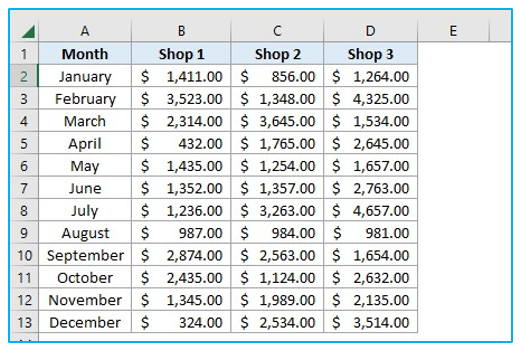
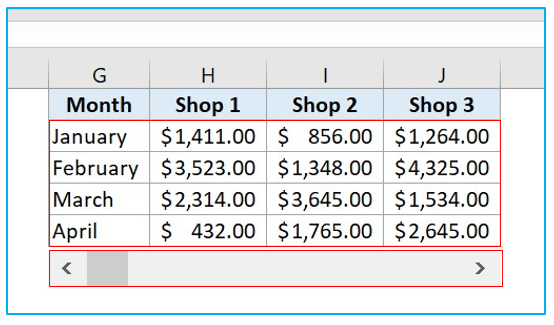
Suppose you have this datasheet. You can create a vertical scroll bar or horizontal scroll bar to easily access the data.
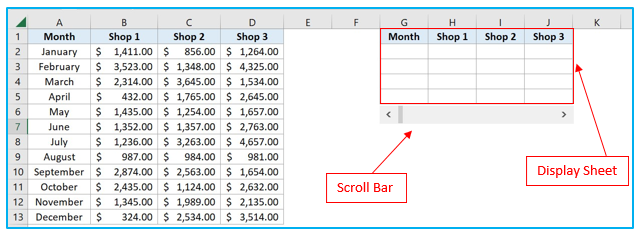
Step 1: First of all, create a smaller space where you want to display the dataset with scroll bar. Then create a scroll bar by following the steps shown previously and place it under the new table in which you will use the scroll bar.
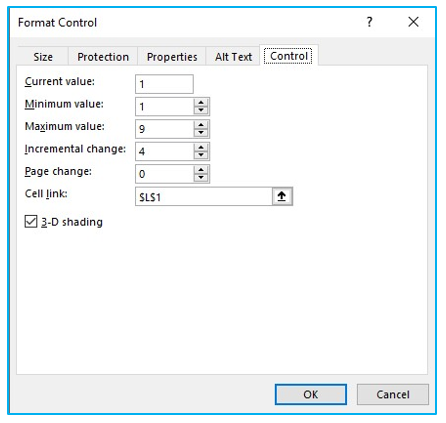
Step 2: Right-click on the scroll bar and select Format Control.

Step 3: From the Format Control dialogue box select the values according to the picture given below and link the scroll bar to cell L1 inside Cell Link box. Click OK.
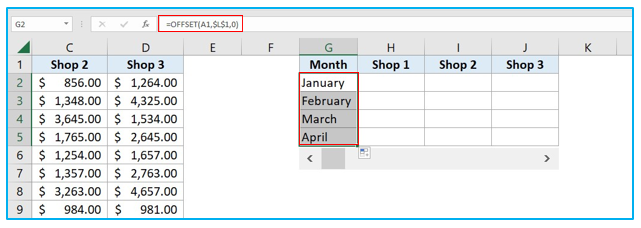
Step 4: Select cell G2>>insert the formula given below>>hit ENTER. Now drag the cell downwards to apply the formula in all the cells of that column.
=OFFSET(A1,$L$1,0)
Step 5: Insert the following three formulas in cell H2, I2 and J2 and drag all of these cells down like the previous step to apply the formula in all the other cells of those columns and your scroll bar will be created for this particular dataset.
H2: =OFFSET(B1,$L$1,0)
I2: =OFFSET(C1,$L$1,0)
J2: =OFFSET(D1,$L$1,0)
4. How to Use Microsoft Excel Scroll Bar in a Data Set?
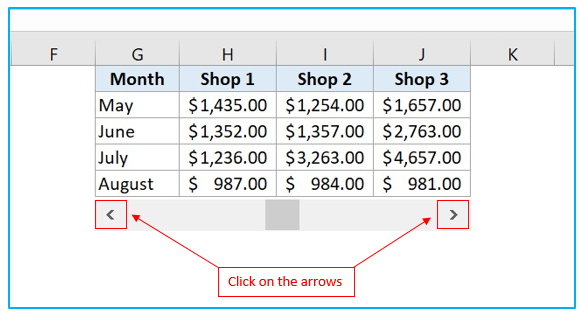
A scroll bar has been created for this datasheet, now how to use it is the question that remains. Worry not, using a scroll bar is very easy. You can scroll the data in the sheet above by simply clicking on the arrows on the left and right sides of your scroll bar.
Create a scroll bar in Excel to make information helpful
- Data Navigation:
- Implement scroll bars to easily navigate through large datasets, improving user experience.
- Interactive Dashboards:
- Enhance Excel dashboards by adding scroll bars for dynamic content and data exploration.
- Data Exploration:
- Enable users to interactively explore data tables by scrolling through rows or columns.
- Custom User Interfaces:
- Create custom interfaces with scroll bars to control various aspects of your Excel files.
- Slider Controls:
- Use scroll bars as slider controls for adjusting values or settings in Excel models.
- Enhanced Visualization:
- Incorporate scroll bars in charts and graphs to dynamically display different data segments.
Creating and using scroll bars in Excel adds interactivity and flexibility to your spreadsheets, making them more user-friendly and engaging for data analysis, reporting, and presentation.
You may be interested:
